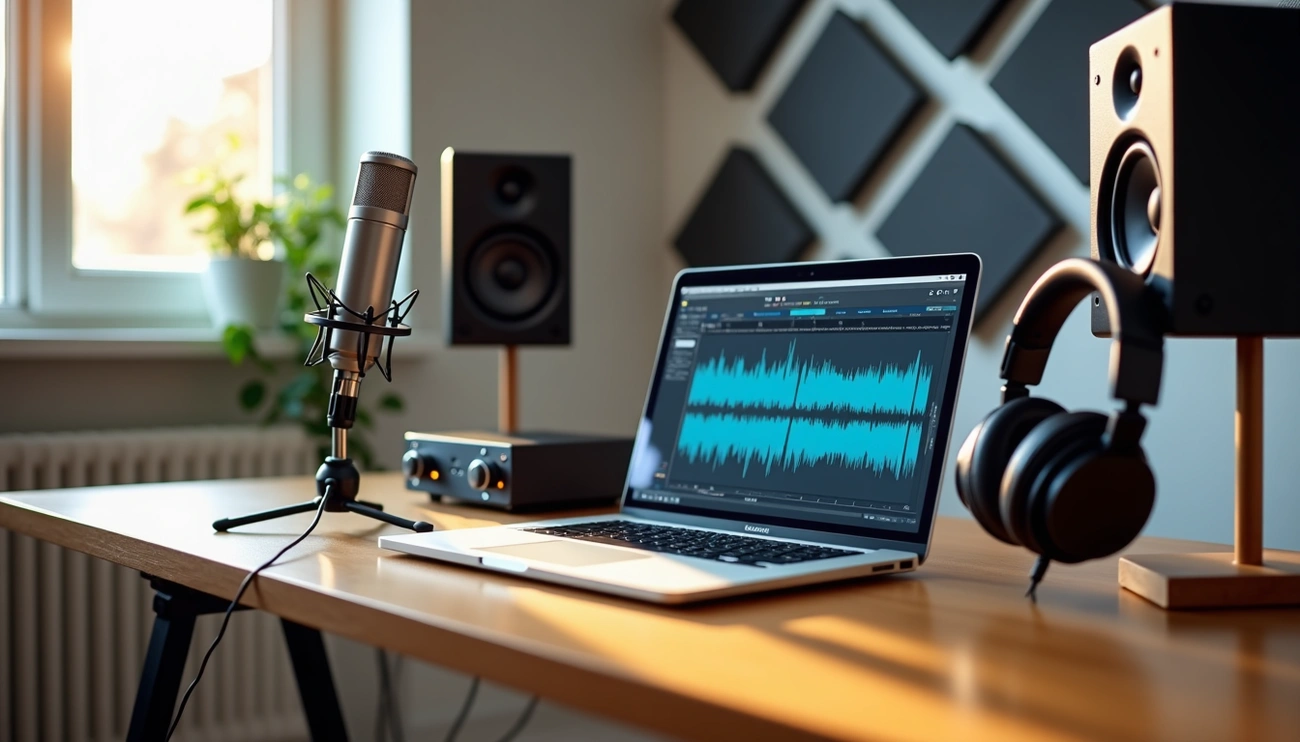
Want to become skilled at audio editing without spending big on fancy software? You’re in the right place!
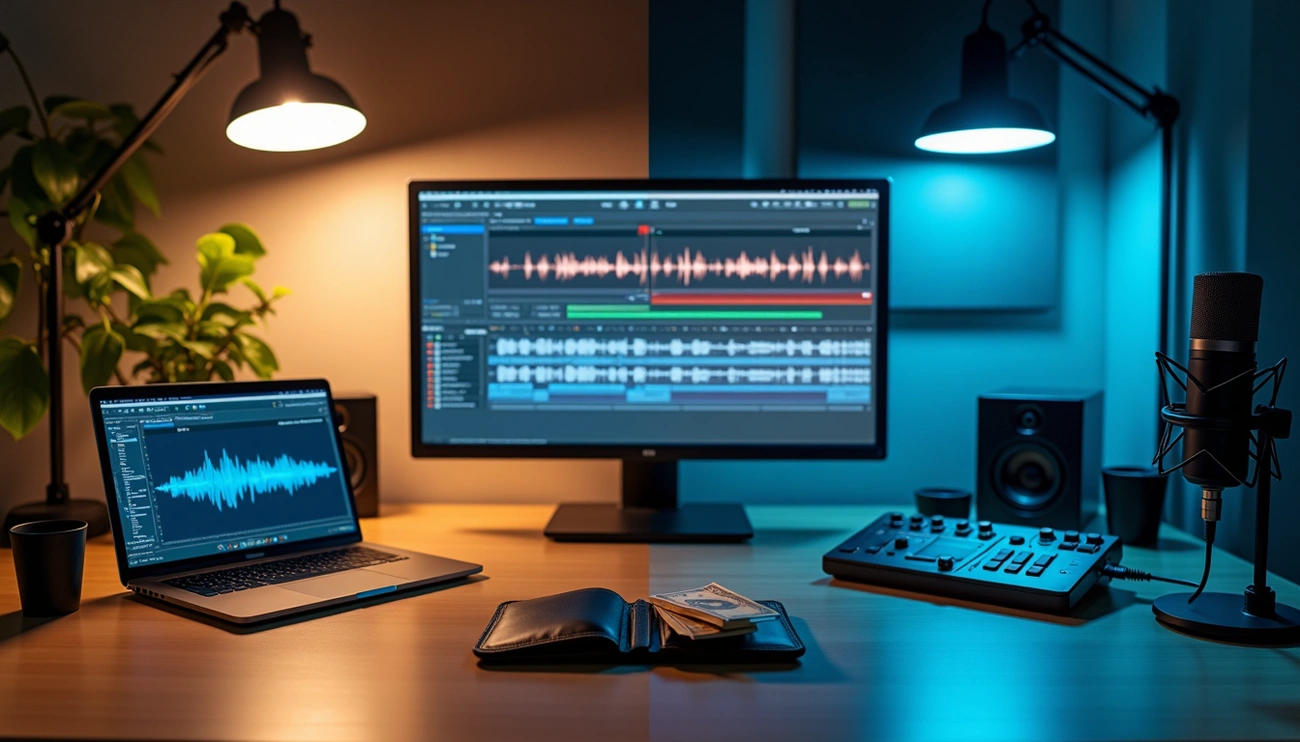
Professional-quality sound production doesn’t need expensive tools. Audacity, a completely free program, can substantially lift your sound production game. We have helped beginners turn their amateur audio into impressive productions over the last several years, and now we’ll share our best techniques with you.
The process might seem overwhelming when you start with audacity tutorials. Don’t worry – we’ll break down everything into simple, applicable steps – from fine-tuning playback settings to navigating volume controls and editing features. You can create professional-sounding mixes in a variety of genres by doing this. This applies to podcasts, music tracks, or voice recordings.
This detailed audacity audio editing tutorial covers everything about using Audacity – from installation and simple navigation to advanced techniques like noise reduction and equalization. These audacity basics are the foundations of good audio production, whatever your experience level.
Want to revolutionize your audio without breaking the bank? Let’s tuck in!
Getting Started with Audacity
Let’s set up Audacity on your system before we start editing audio. A well-prepared workspace will make your editing experience much smoother.
Getting Started with Audacity
Install and launch Audacity
You can easily download and install Audacity on any platform. Visit the official website (audacityteam.org/download) and choose your operating system. Windows users can run the installer and follow the setup wizard. Mac users should drag the Audacity.app to their Applications folder after downloading. Linux users can install it through their distribution’s package manager.
Launch the program by clicking the Audacity icon. The interface might look complex at first, but you’ll quickly get familiar with its layout as we go through this beginner’s tutorial.
Set up your microphone and playback device
You need to configure your audio devices properly when you first open Audacity. The Audio Setup Toolbar at the top of the window lets you select your recording and playback devices.
Choose these from the dropdown menus:
- Audio Host (the interface between Audacity and your sound device)
- Recording Device (your microphone or line-in)
- Recording Channels (mono or stereo)
- Playback Device (your speakers or headphones)
The default settings work well for most beginners. Windows users should select MME, Mac users have Core Audio, and Linux users typically use ALSA.
To check your microphone, click the microphone icon and select “Start Monitoring.” Your voice should register between -18 and -12 dB during normal speech. Be careful not to hit the red zone, which shows distortion.
Import your first audio file
You have several ways to bring audio into your workspace. The File menu provides the standard method – click File > Import > Audio to find files on your computer. You can also drag and drop audio files directly into the Audacity window, which works just like the import command.
Audacity keeps track of your recent files under File > Recent Files (called “Open Recent” on Mac).
The software maintains quality by keeping your files’ original sample rate and converting them to 32-bit float format by default.
Now that you understand these audio editing basics, we can move on to manipulating your audio in the next section.
Basic Editing Tools and Techniques
Your loaded audio file is ready to become something extraordinary. Audacity’s precision tools give you complete control over your sound.
Trim silence and unwanted parts
Getting rid of unwanted audio is straightforward. Select any portion by clicking and dragging across the waveform. The selected part disappears with a quick press of Delete or Backspace. You can zoom in using the Zoom+ icon or Ctrl+Scroll (Cmd+Scroll on Mac) to make more precise selections.
Audacity’s Truncate Silence effect helps remove silence automatically. This tool spots and removes silent passages below your specified threshold. This makes podcast editing quick without affecting natural pauses between words.
Cut and move audio segments
Your recorded audio exists as clips that you can work with independently. The rounded clip handle bars above your waveform let you edit flexibly in this beginner’s guide to Audacity.
Moving audio segments is simple – just click and drag the clip handle bar (the light area with rounded corners at the top of the clip). Audacity shows yellow Boundary Snap Guides that help you line up multiple audio segments in a user-friendly way.
To explore more features, try trimming clips by hovering near the upper third of a clip’s left or right edge, then drag inward. Trimming works differently from deletion – you can always un-trim later if needed.
Use zoom and selection tools effectively
Becoming skilled at zoom functions changes how you use Audacity. The program gives you several zoom options:
Ctrl+1– Zoom InCtrl+2– Reset to default zoomCtrl+3– Zoom OutCtrl+E– Zoom to Selection
You can hold Ctrl while scrolling to zoom in or out at your cursor position – perfect for frame-accurate edits. The Timeline at the top of your window shows your position in hours:minutes:seconds, keeping you oriented during detailed work.
Proper zooming makes all other editing tasks easier and more precise as you work through this audio editing guide.
Cleaning and Enhancing Your Audio
Professional-sounding recordings need cleaning and improvement, even when they start out great. You can turn amateur recordings into broadcast-quality productions by becoming skilled at Audacity’s audio processing tools.
Remove background noise using Noise Reduction
The Noise Reduction effect works best when you need to eliminate constant sounds like fan hums, refrigerator buzzes, or computer whines. Here’s how to make it work:
- Find a section containing only background noise (ideally a few seconds long)
- Select it, then go to Effects > Noise Reduction and click Get Noise Profile
- Next, select your entire recording and reopen the Noise Reduction effect
- Adjust settings—start with default values around 12dB reduction
- Use the “Residue” toggle to preview what will be removed
Excessive noise reduction can create strange artifacts or underwater sounds. The best results come from recording in a quiet environment first, then applying gentle noise reduction.
Apply equalization for better clarity
Equalization helps you adjust specific frequency ranges to improve clarity:
- Select your audio and go to Effects > Equalizer
- For voice recordings, boost slightly around 2-4kHz for clarity
- You might want to reduce frequencies below 80Hz to eliminate rumble
- Small adjustments often yield better results, so keep changes subtle
Use compression to balance volume levels
Compression helps balance your audio by making quiet parts louder and loud parts quieter:
- Select Effects > Compressor
- Start with these settings:
- Threshold: -12dB
- Ratio: 2:1 or 3:1
- Attack: 0.2 seconds
- Release: 1.0 second
- Check “Make-up gain for 0dB”
Add reverb for depth and space
Reverb adds a natural space around your voice:
- Select Effects > Reverb
- A subtle room effect needs low “Room Size” and “Reverb Time” values
- Keep “Dry Gain” higher than “Wet Gain” for natural-sounding results
- Add a short silence at the track’s end so reverb tails don’t cut off abruptly
Exporting and Saving Your Project
Your audio is perfectly edited and enhanced. The final vital step is to get your project out of Audacity into a format you can share. Understanding how to export your work will help complete your audio editing trip.
Difference between saving and exporting
New users often mix up saving and exporting in Audacity, but these serve different purposes. File > Save Project creates an AUP3 file that keeps all your edits, effects, and track arrangements intact. This file works only in Audacity and stores your workspace exactly how you left it.
You need to export your audio if you want others to listen to it or play it in other applications. The export process creates a standard audio file through File > Export Audio. You can play these files on music players, share them online, or burn them to CDs.
Export as MP3 or WAV
Your final product needs one of these popular formats:
WAV files give you uncompressed, lossless quality that works best for:
- Professional audio work that needs highest quality
- Projects you might edit later
- Audio CDs (files can be large)
MP3 files create compressed, smaller files perfect for:
- Online sharing or email
- Portable music players
- Podcasts or web content
You can adjust export quality through format-specific options. MP3 settings let you pick bit rates and quality levels that match your needs. Opus or M4A formats might work better if you want higher quality than MP3 with similar file sizes.
Add metadata before final export
Audacity opens the Metadata Editor before completing your export. Here you can add key details about your file. Media players show this data when your audio plays. The editor has fields for:
- Artist Name
- Track Title
- Album
- Year
- Genre
These fields make your files look professional and easier to organize. Podcasters should use the Artist field for their podcast name and Track Title for episode names.
The Edit > Metadata Editor lets you set shared details like album name and artist for multiple files before export. This saves time when you’re working with several tracks.
Conclusion
Audacity puts professional audio editing at your fingertips without spending a penny. This piece walks you through everything in the audio editing process – from workspace setup and device configuration to advanced effects like noise reduction and compression.
You have learned the core skills to turn raw recordings into polished, professional audio. The simple editing techniques like trimming silence and moving audio segments are the foundations of complex projects. The tools for equalization and reverb let you control your recording’s sonic character completely.
The gap between amateur and professional audio comes down to detail. You should practice using selection tools with precision and try different effect combinations. Every project brings its own challenges, but Audacity has solutions for almost any audio editing task.
Exporting is your final step to share your work with the world. Your projects will sound professional whether you pick uncompressed WAV files for top quality or space-saving MP3s for easy sharing – all with free software.
This step-by-step approach makes Audacity less intimidating. The interface that might have seemed daunting at first will become familiar. Your editing skills grow with each project, and you’ll get professional results whatever your experience or budget.
![[12] Best Plugins for Audacity in 2026 (Free Downloads)](/wp-content/uploads/2026/01/a8946991-9c92-4963-9410-0dcb946193d2.webp)