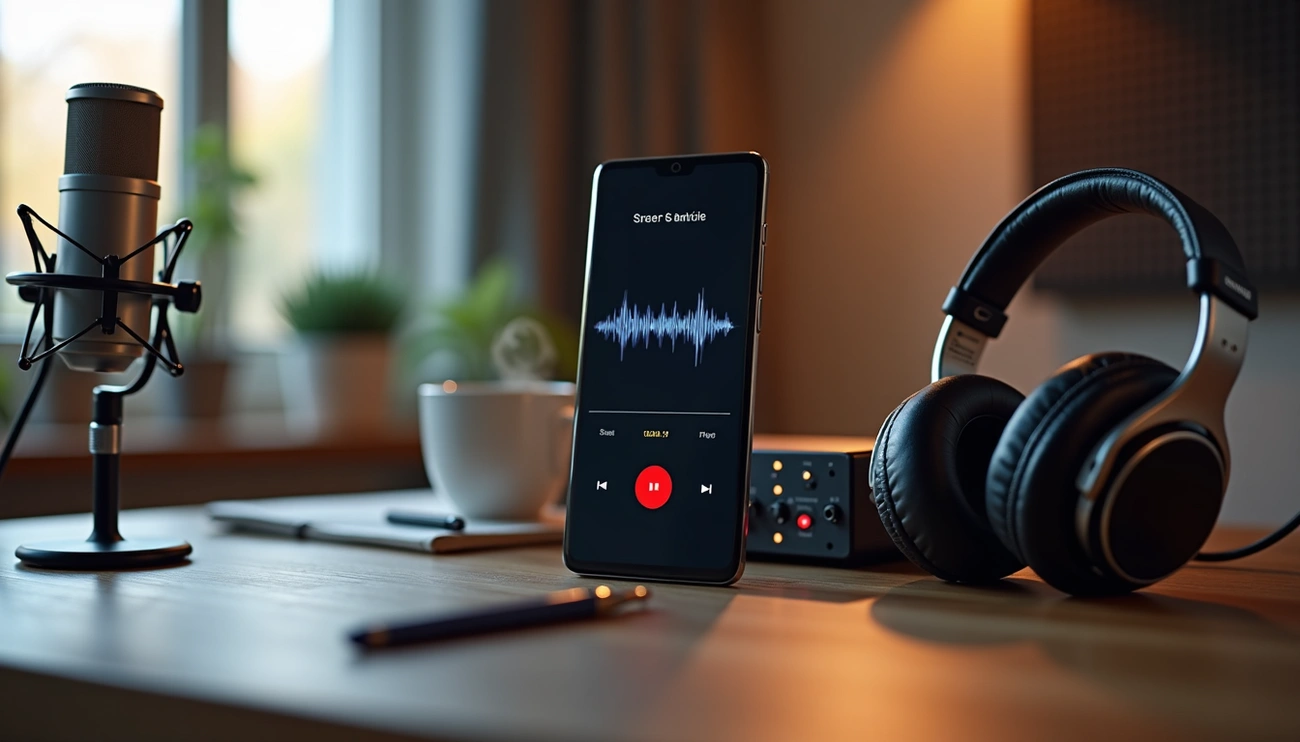
Audio restoration was limited to professionals with expensive equipment just 15 years ago. These days, many of us can use methods that were once exclusive. This shift has changed how we preserve and improve audio recordings.
Audio restoration helps improve recording quality. The process removes unwanted noise, clicks, pops, hums, hiss, and other flaws from original material. We give new life to tracks that might be unusable otherwise. Restoration balances frequencies and fixes clipping issues to even out dynamics while keeping the sound authentic. Good restoration techniques can improve old recordings’ quality by a lot.
Restoring audio means more than just cleaning it up. The goal is to reduce unwanted noises while keeping the original signal as pure as possible. Modern tools like RX make audio restoration seem magical. These tools help us save audio that we might have deleted before. But recording good source tracks remains the foundation of quality audio whenever possible.
This piece will show you traditional and AI audio restoration techniques. You’ll learn to bring damaged or degraded recordings back to life – from yesterday’s podcast to century-old recordings.
What is Audio Restoration and Why It Matters
Audio restoration is a sophisticated process that removes unwanted sounds and imperfections from recordings. This process changes damaged or compromised audio into clearer, more usable material. Let’s take a closer look at what makes this field vital in many industries, building on our earlier discussion about availability.
Understanding the purpose of restoration
Audio restoration serves two main purposes: minimizing unwanted noises and preserving the original signal with maximum fidelity. Audio engineers must think over this delicate balance. They know that aggressive restoration can damage a recording’s authentic character. Many specialists follow a simple rule – keeping some noise is better than removing too much good material.
Audio restoration covers several types of imperfections:
- Clicks, pops, and crackles (common in vinyl recordings)
- Hiss, hum, and background noise
- Clipping and distortion
- Wow and flutter (speed inconsistencies)
- Tonal imbalance and frequency issues
Technical approaches have changed dramatically. Restoration once needed specialized labs with expensive equipment, making it out of reach for most consumers. Digital signal processing and powerful computers have now brought these techniques into mainstream use.
Restore audio meaning in modern production
Modern production uses audio restoration differently across industries. Film post-production needs clean dialog. Forensic work clarifies vital evidence. Music mastering removes unwanted mouth clicks, room sound, or distortion. These improvements help compositions reach their full potential.
The difference between restoring dialog and music is significant. iZotope (makers of popular RX software) points out that some “imperfections” might be part of the music’s intended esthetic. To cite an instance, tape hiss in quiet sections could be intentional. Aggressive cleaning of plosives across a stereo track might weaken low-end transients that give the recording its character.
Context and nuance matter greatly. Perfect cleanliness isn’t always the goal – supporting the artistic vision is. Professional engineers know that keeping certain noises maintains authenticity. Human hearing adapts easily to quiet background noise or small clicks.
Preserving historical and creative value
Audio restoration plays a vital role in cultural preservation. Archives worldwide hold extensive recorded sound collections. Many recordings remain fragile, damaged, or risk deterioration. On top of that, some recordings used technologies that no longer exist, requiring specialized restoration approaches.
This preservation challenge goes beyond convenience. The New York Times reports that institutions like Iron Mountain work with clients to protect audiovisual assets. Their work ensures future generations can access music that has shaped our cultural world. Most media wasn’t built to last forever. Hard drives, magnetic tape, film, and other legacy formats weren’t manufactured with long-term preservation in mind.
New technologies keep advancing this field. Strategic collaborations between Lawrence Berkeley National Laboratory, the U.S. Library of Congress, and the Smithsonian Institution enable restoration of historically valuable recordings through non-contact methods. IRENE, one such system, uses a high-powered microscope to follow groove paths on audio recording disks or cylinders without physical contact. This creates detailed spatial mapping that converts to digital audio.
Audio restoration means more than technical excellence. It connects generations through sound, preserves voices that would otherwise fade away, and keeps our shared sonic heritage available for education, understanding, and inspiration across communities.
Common Audio Issues That Need Restoration
Audio restoration engineers deal with several common audio problems that need different solutions. The first step to fix these issues is to identify them correctly. Let’s get into the most frequent problems that need our attention.
Clicks, pops, and crackles
Clicks and pops are among the most common audio issues we need to fix. These intrusive sounds often come from digital sync problems or ground loops between computers and audio interfaces. You’ll find them even in expensive studio recordings. In spite of that, there are other sources too. Human speech naturally creates clicks, and certain instruments like basses with low action make similar noises.
These short bursts of sound can be anything from subtle mouth clicks in vocal recordings to major disruptions from faulty equipment. Vinyl lovers often encounter clicks and pops from dust in their record grooves. The good news? Tools like iZotope RX’s De-click module are great at finding and removing these brief disruptions. The De-click processor analyzes frequency patterns and removes problem areas without touching the rest of the audio.
Hiss, hum, and background noise
Hiss comes from electron movement in preamps or microphones when input gain runs high. Unlike other audio problems, hiss shows up in all frequencies of the sound spectrum, which makes it tough to remove. Entry-level preamps in portable recorders make this issue more obvious.
Hum and buzz happen when microphones or cables catch electromagnetic radiation from electrical devices. These electrical noises usually have a musical quality. Their fundamental frequencies match the electrical grid—50 Hz in Europe and 60 Hz in the United States. Even low-level hums can really distract listeners because of their “musical” nature.
There’s a silver lining though. Audacity’s Noise Removal feature helps tackle these issues. The fix usually takes two steps: you select a part with just the noise to create a profile, then apply that profile to clean up similar noise patterns throughout the recording. But as one expert puts it, “Don’t get your hopes up. You can almost never correct a bad recording into a good one”.
Clipping and distortion
Clipping happens when an audio signal gets too strong for a device or software to handle. You can spot it right away—the waveform looks flattened or “clipped off” at the peaks. The audio information in those peaks is gone forever, creating harsh-sounding distortion, especially in digital recordings.
Level meters show this visually—green means safe, yellow warns you’re in headroom territory, and red signals possible clipping. Back in the day, clipped audio meant you had to record again. Now, tools like RX’s De-clip module can rebuild clipped peaks by filling in the waveform to cut down distortion. The software looks at audio above a certain threshold and tries to reconstruct the lost peaks.
Tonal imbalance and dynamic inconsistencies
Tonal imbalance means the lows, mids, and highs in a recording don’t work well together. Some tracks might be too bass-heavy, others too bright, or lack mid-range clarity. This makes recordings sound unnatural on different speakers. Each genre needs its own balance—punk and reggae, for example, use very different amounts of bass.
Common tonal balance issues include:
- Lower end anemic: recordings feel weak and hollow
- Lower end too loud: recordings sound muddy
- Mids lacking: recordings feel empty with no punch
- Highs too loud: recordings become harsh and fatiguing
Dynamic inconsistencies show up when parts of a track are too loud or soft, which affects the music’s emotional impact. These uneven levels make the recording sound less professional and create an inconsistent listening experience.
The best way to handle these common issues is to spot problems early and use the right tools to fix them. Don’t try to save badly damaged recordings. Audio professionals always say getting clean audio from the start works better than trying to fix it later.
Essential Tools and Software for Restoration
Audio restoration success largely depends on choosing the right tools. Technology today has expanded our options, and techniques that were once available only to professionals are now accessible to amateur engineers too.
Overview of RX audio restoration techniques
iZotope RX is the industry standard for audio restoration and provides detailed solutions for almost every audio problem. Audio professionals call RX “basically everything you need for most jobs” and “easily the best on the market nowadays.” The software uses advanced machine learning algorithms that achieve results once thought impossible.
RX comes in three distinct versions:
- RX Elements ($95): Has six essential plugins—De-Click, De-Clip, De-Hum, De-Reverb, Repair Assistant and Voice De-Noise
- RX Standard ($389): Adds the standalone RX application plus Dialog Isolate, which provides accessible faders for Voice, Reverb, and Noise
- RX Advanced ($1,149): Has everything in Standard plus specialized tools like Ambience Match and De-Rustle for dialog editors
RX’s spectral repair capabilities are a great way to get visual identification and removal of specific problems. On top of that, the order of operations affects results substantially—you should tackle the deepest damage first. To name just one example, I fix clipping before addressing broadband noise, as the “mud flows downstream” during restoration processing.
AI audio restoration tools and their use cases
Several AI-powered alternatives beyond iZotope provide unique advantages for specific restoration scenarios. These tools excel in different areas:
Accentize dxRevive ($259 for Pro version) excels at not just reducing noise but also regenerating missing frequency components. This makes it vital for bringing back recordings that might otherwise be lost. The Pro version has multiple algorithms:
- Studio: Removes noise, reverb, and codec artifacts while applying EQ
- Studio 2: Improves upon the original with better results on varied source material
- Studio 3: Available exclusively in the Pro version
AudioCleaner provides a free web-based approach with one-click processing that works perfectly for beginners. Tests show it “delivered natural, clear results with just one click and required no complicated setup.” The tool removes background noise, echoes, and breath sounds effectively without software installation.
Audacity remains a powerful free option with simple noise reduction capabilities. While it needs more manual configuration than dedicated AI tools, it provides strong repair capabilities through noise profiling to eliminate unwanted background sounds.
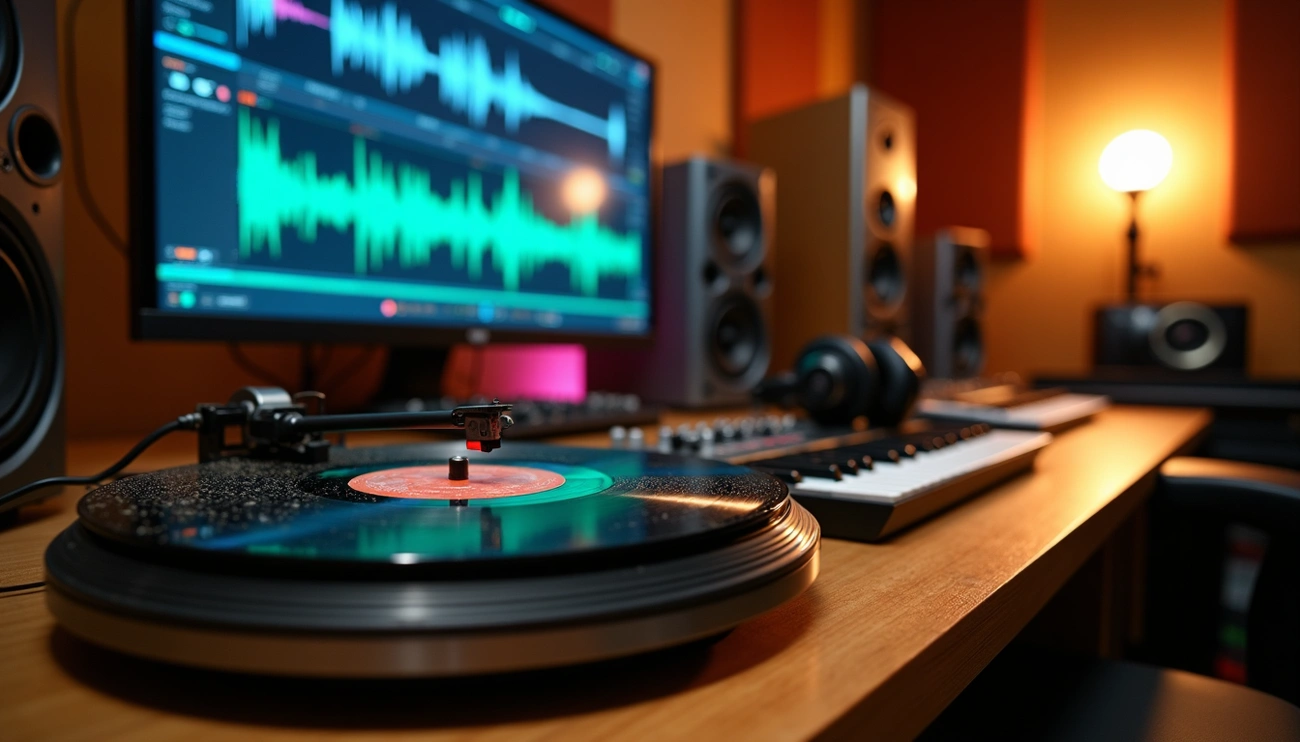
Hardware setup: turntables, preamps, converters
Clean transfers from analog sources matter more than the software used afterward. Quality hardware is essential for restoration.
Vinyl restoration needs these vital components:
- A quality turntable with adjustable azimuth (angle of the stylus)
- Phono preamplifier with precise RIAA equalization
- Proper cartridge loading (typically 47K ohm resistor)
Azimuth adjustment matters equally when working with tape—a properly aligned tape machine helps more than any software program. Understanding alignment curves (beyond just NAB and IEC) affects transfer quality substantially.
One expert points out: “A good full range monitoring setup in a well designed room is the first thing I would worry about. You cannot restore when you cannot accurately hear what you are doing.”
The best restoration results come from combining quality hardware for initial transfers with powerful software tools that address specific problems. Success in audio restoration comes down to matching the right tool to each particular challenge.
Step-by-Step Audio Restoration Workflow
A methodical workflow turns chaotic audio repair into a precise science. The difference between amateur and professional restoration doesn’t lie in the tools but in how systematically each project is approached.
Organizing and preparing your files
Good file organization will save countless hours of frustration during restoration. Note that consistent naming conventions should include critical details like date, project name, and version information to find files easily. For example: [2024-05-06]_ProjectName_OriginalTransfer.wav versus [2024-05-06]_ProjectName_RestoredFinal.wav.
Your folder system should follow logical categories:
- Project folders containing all related materials
- Separate subfolders for raw transfers, works-in-progress, and final masters
- Archive folders to preserve original unprocessed files
Good organization paired with proper backup procedures will protect your important work. You should keep older projects and safety copies in different locations to maximize protection against data loss.
Identifying and isolating problem areas
Listen to the recording carefully and take detailed notes about specific issues that need attention before using any restoration tools. Your ears and visual analysis tools will help pinpoint problems more accurately:
Waveform analysis helps spot obvious issues like clipping, which shows up as flattened or “squared-off” sections where audio signals went beyond maximum levels.
Spectral analysis shows problems you might miss by ear alone. A spectrogram reveals:
- Clicks and pops as vertical lines
- Hum as horizontal lines at specific frequencies (typically 50Hz or 60Hz)
- Broadband noise as speckles surrounding the program material
Each restoration job should start with analyzing waveform statistics to identify potentially inaudible but problematic issues like clipped samples.
Applying restoration in logical passes
Effective audio restoration depends on tackling problems in the right sequence. When multiple issues exist, you should address the deepest damage first. This prevents problems from compounding as you progress.
Audio repair works best in this order:
- Fix clipping issues (deepest level damage)
- Address transient issues (clicks, pops, crackles)
- Remove fixed-frequency tones (hum)
- Tackle broadband noise (hiss, ambient noise)
- Finally, address tonal and dynamic problems
Work in layers and make gradual adjustments to avoid over-processing. This systematic approach lets each restored element build on a cleaner foundation.
Using reference tracks for comparison
Reference tracks are vital measures throughout restoration. These professionally produced examples help assess whether your restoration choices create natural-sounding results.
References work best when you:
- Match levels between your restoration work and reference track to eliminate loudness bias
- Use multiple references for different aspects (tone, dynamics, stereo image)
- Compare short segments (5-10 seconds) to keep a fresh view
- Focus comparisons on similar sections (chorus to chorus, verse to verse)
Quick switches between your restoration work and references will help develop an objective sense of sufficient restoration versus potential over-processing that might damage the original character.
Advanced Audio Restoration Techniques
Audio restoration goes beyond simple noise reduction into a world of sophisticated techniques that change seemingly ruined recordings into professional-quality assets. These advanced methods make the difference between amateur fixes and professional restorations.
Spectral repair and dynamic EQ
Spectral repair stands out as one of the most powerful audio restoration techniques today. Traditional tools process entire frequency ranges, but spectral editing shows sound visually through frequency and time. This allows for surgical precision. The technology lets me select specific unwanted sounds—like a chair creak in a quiet guitar passage or a cough during a classical performance—and remove them without touching the surrounding audio.
The spectrogram shows audio with color intensity representing volume—the bolder the color, the louder the sound. Different selection tools help me isolate specific problem frequencies and apply various algorithms:
- Attenuate reduces magnitude to match surrounding audio
- Replace completely substitutes selected audio with interpolated content
- Pattern identifies similar sections elsewhere and uses them as replacement material
- Partials+Noise handles complex cases like vibrato by separating harmonic content
Dynamic EQ adds another dimension of control by adjusting frequencies based on audio levels. Unlike static EQ, it only processes audio when it crosses a specified threshold. This makes it perfect for taming inconsistent vocals or problematic resonances that pop up now and then.
Mid-side processing for targeted fixes
Mid-side processing divides audio into two components: the “Mid” with centered information and the “Side” with stereo information. This technique proves exceptionally valuable because it lets you process center and edges independently.
You can remove noise or artifacts from just one stereo channel while leaving the other untouched. A click in the right channel of a stereo recording can be fixed by selecting just that channel and applying spectral repair. This precise approach prevents unnecessary processing that might create artifacts in clean audio sections.
Restoring old recordings with care
Old recordings need specialized restoration approaches. Harmonic balancing offers a remarkable solution by analyzing a modern reference recording to create an EQ “fingerprint” for vintage material. This method effectively reverse-engineers the flaws of old microphones and recording chains.
Restoring 78rpm recordings starts with physical cleaning using specialized solutions, followed by multi-stage digital processing. The process typically involves recording in stereo to improve signal-to-noise ratio before combining to mono. De-clicking, de-noising, and manual removal of remaining artifacts complete the workflow.
Combining multiple techniques for best results
The best restorations combine several techniques in a strategic sequence. A severely damaged recording might need this approach:
- Start with spectral repair to handle localized problems
- Apply targeted noise reduction using specialized algorithms
- Use dynamic EQ to address frequency imbalances
- Add mid-side techniques for stereo enhancement
A restoration specialist once tackled a damaged 1954 tape recording that needed four weeks to reconstruct 32 minutes of audio. The solution required spectral editing to find harmonics of the same notes from other parts of the recording. These were carefully pasted in to reconstruct the damaged passages.
Restoration work needs repeated passes. Each pass focuses on different elements while mentally filtering out the rest. This step-by-step approach leads to gradual improvements while keeping the recording’s essential character intact.
Best Practices and Common Mistakes to Avoid
The ultimate challenge in audio restoration lies in balancing technical skills with artistic restraint. Having powerful tools is great, but knowing when to stop can separate professional results from amateur mistakes.
Avoiding over-processing
Audio restoration’s biggest problem is over-processing. Many people make the mistake of excessive de-noising, which creates strange artifacts that professionals call “space monkeys”. These digital artifacts show up around sibilance, hard R sounds, and plosives. You should de-noise until you notice artifacts, then pull back the reduction slider until they vanish—and then pull back some more. It’s better to keep some noise than to ruin your recording’s natural sound.
When to stop restoring
“Do not harm” stands as the first principle of audio restoration. Audio restoration works like a process with diminishing returns—each pass subtly affects audio quality. You need regular breaks to get a fresh viewpoint, since restoration work can make you start accepting small flaws. Taking a step back and comparing your work to the original helps ensure you haven’t lost what makes the recording special.
Listening critically across devices
Testing in different environments helps you spot issues that might slip by in just one setting. Your restorations should sound good on studio monitors, consumer headphones, and car speakers—problems often become clear in different playback situations. Whatever the listening environment, your restoration choices need to hold up.
Backing up and versioning your work
The 3-2-1 backup rule works best: keep three copies of your files on two different media types with one stored offsite. You should create clear file naming rules that include dates and version details. It’s worth mentioning that you should never process original files—always work with copies and save your unprocessed originals.
Conclusion
Audio restoration is both a technical craft and an artistic pursuit that requires a delicate balance between fixing problems and preserving authenticity. This piece has explored many techniques to bring damaged recordings back to life while keeping their essential character intact.
The trip from spotting problems to using sophisticated solutions needs patience and methodical work. You’ll need to develop both technical skills and critical listening abilities to become skilled at this craft. The ability to know when to stop processing often makes the difference between professional and amateur results.
Technology has changed this field dramatically. Restoration techniques that were once limited to specialized studios with expensive equipment are now available to anyone passionate about preserving and enhancing audio. Powerful tools like iZotope RX, AI-based solutions, and spectral editing have changed what’s possible. These tools can make seemingly unsalvageable recordings usable again.
Good preparation and organization are the foundations of successful restoration. The work should progress in logical passes—fixing the deepest damage first before tackling surface issues. This prevents problems from building up during processing. A methodical approach will give better results than random processing.
Your ears should be your ultimate guide. Spectrograms and visual tools can help you learn about the audio, but the restored audio must sound natural and pleasing. Taking breaks, comparing against references, and testing across multiple playback systems will give a consistent result whatever the listening environment.
Audio restoration goes beyond technical wizardry—it preserves our sonic heritage, makes damaged recordings available again, and connects generations through sound. These techniques will give you the power to breathe new life into recordings that might otherwise be lost to time.